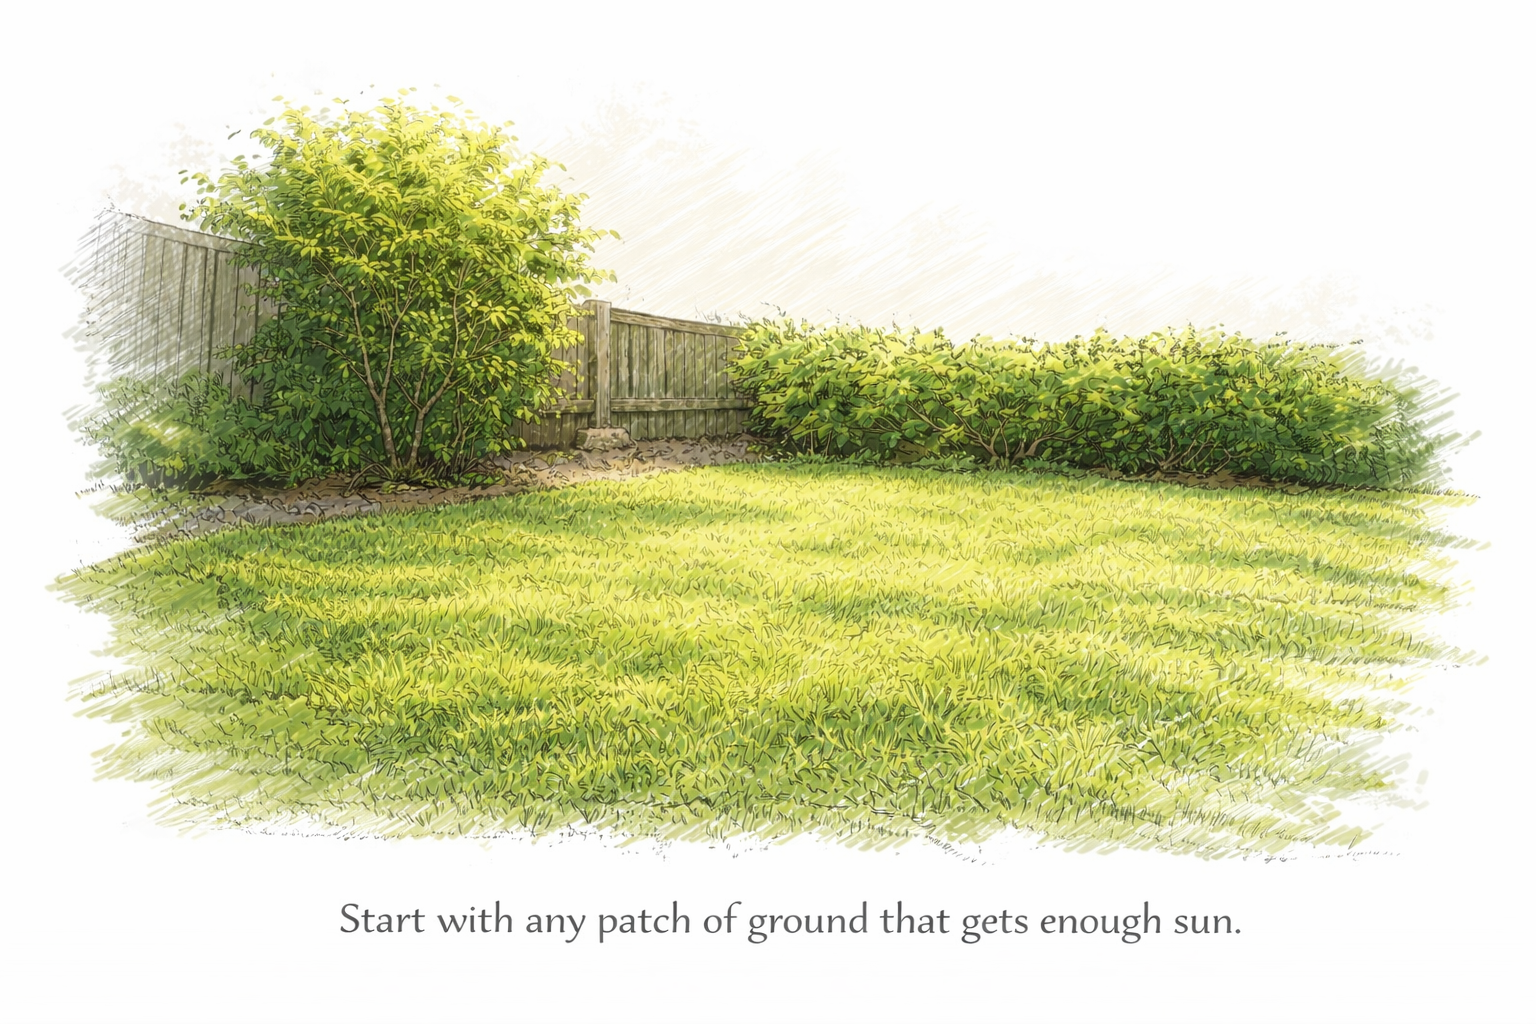
Starting a garden feels like a big step, mostly because it’s hard to picture where to begin.
You look at a patch of grass and think: do I dig it up? Do I build something? Do I need tools, materials, a plan?
Most people assume they need to tear everything apart before they can grow anything.
They don’t.
You don’t need to rebuild your soil. You just need to change what’s happening on top of it.
What You’re Really Doing
Even under a lawn, your soil is already working.
There are roots holding structure together, fungi moving nutrients, organisms breaking things down and rebuilding them. That doesn’t stop just because grass is growing there.
The goal isn’t to remove all of that.
It’s to shift the balance so something else can take over.
When you block light from the grass and start adding organic material to the surface, the system begins to move in a different direction. The grass weakens, the soil becomes more active, and space opens for the plants you actually want.
This Does Take Effort — But It Gets Easier Fast
There’s no way around it. Setting up a garden bed takes some work. But it’s not complicated work.
When it’s done properly, it removes most of the problems that make gardening feel difficult later on.
Weeding never becomes an issue because you’re not constantly disturbing the soil or leaving it exposed. Pest pressure becomes less intense because your garden isn’t a single crop sitting in open space. Water stays where you need it instead of running off or drying out too quickly.
Most of what people struggle with in gardening isn’t the growing itself, it’s the conditions they started with.
This method fixes that at the beginning.
How to Do It
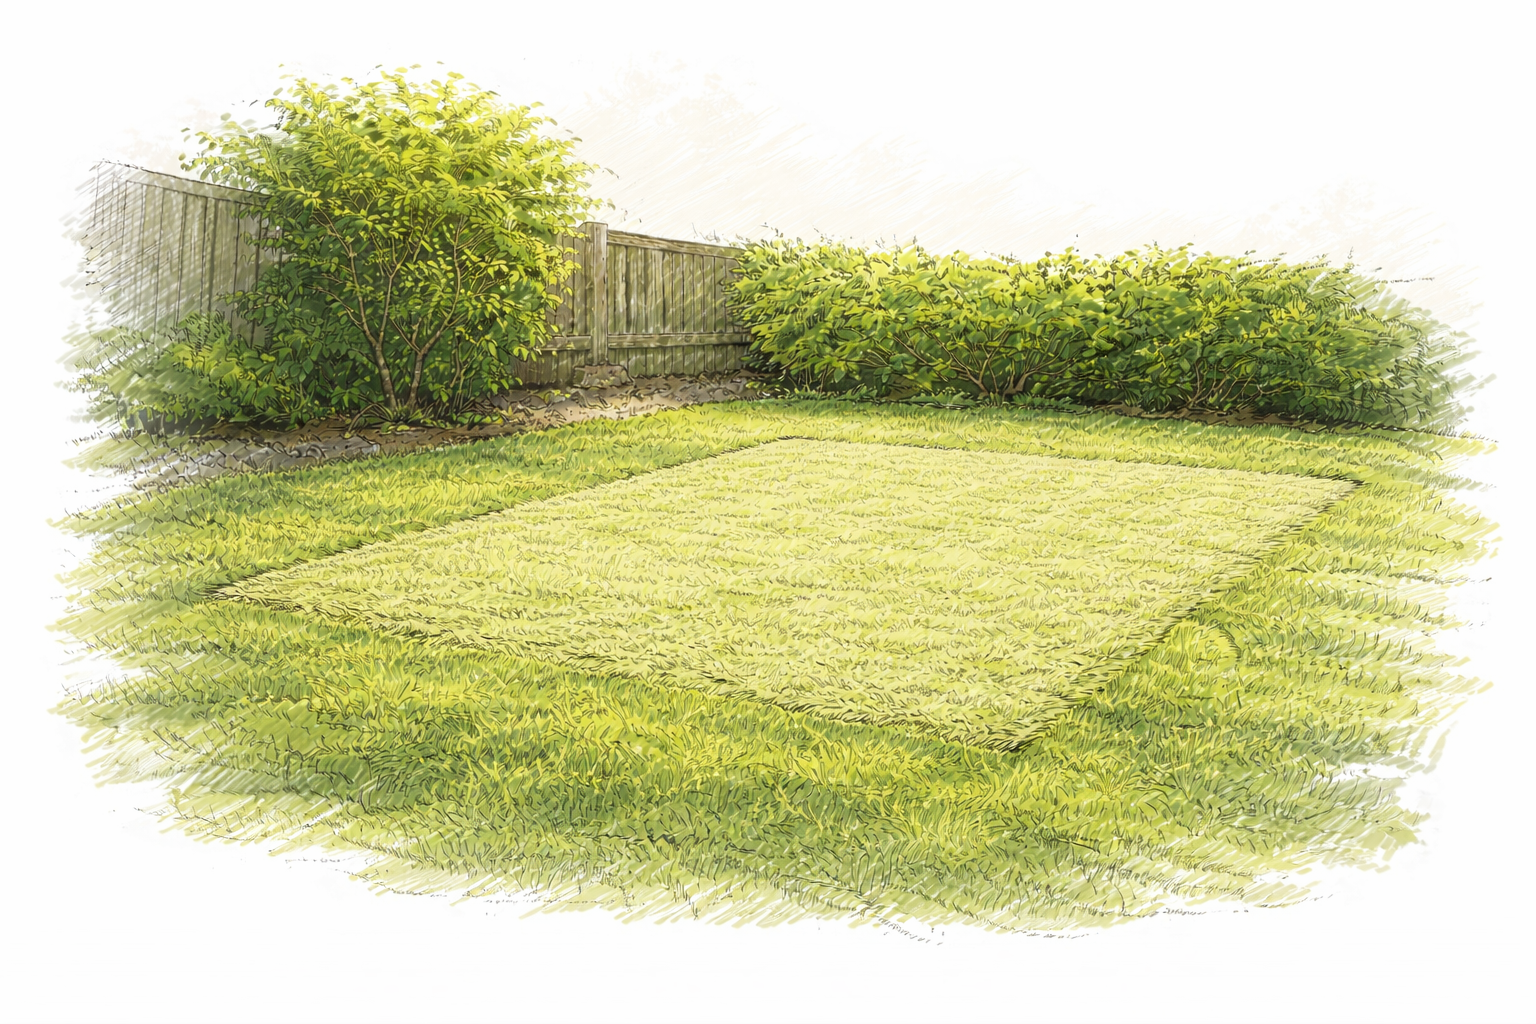
Start by cutting the grass as low as you can. It doesn’t need to be perfect, just close to the ground. This weakens it and makes everything that follows more effective.
Then mow the proposed bed area really short so the rectangular patch is clearly defined.
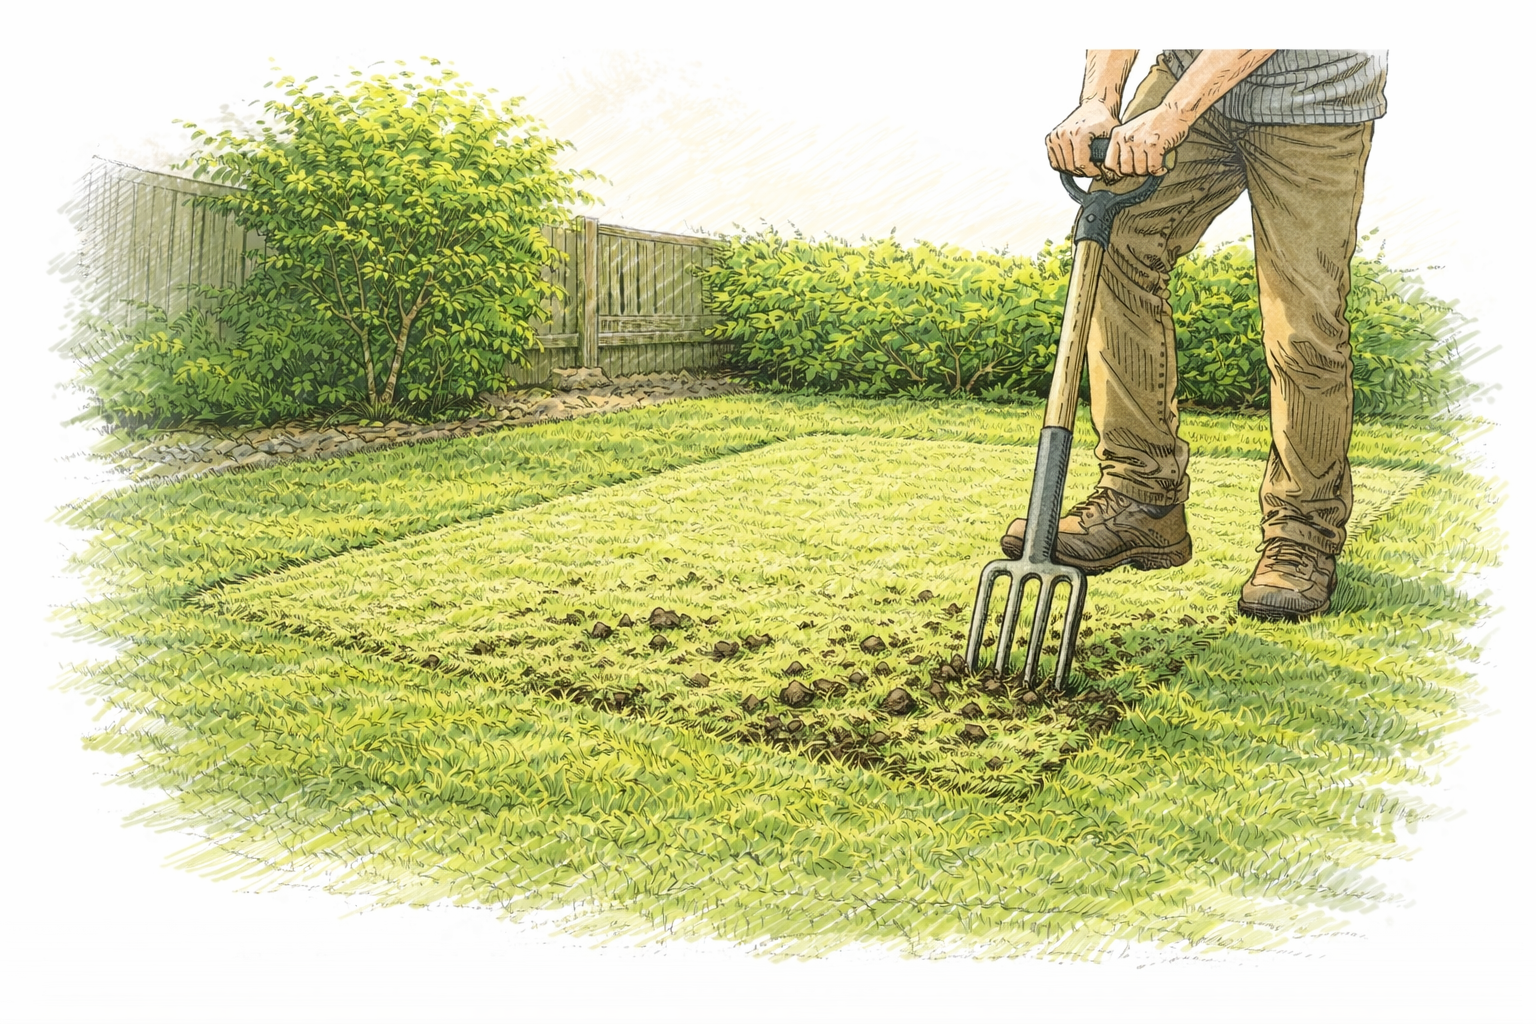
Next, open the ground slightly across the entire area with a garden fork, spade, or shovel. You’re not turning the soil over, just loosening it so water and roots can move through. If the ground is already really soft, you can skip this.
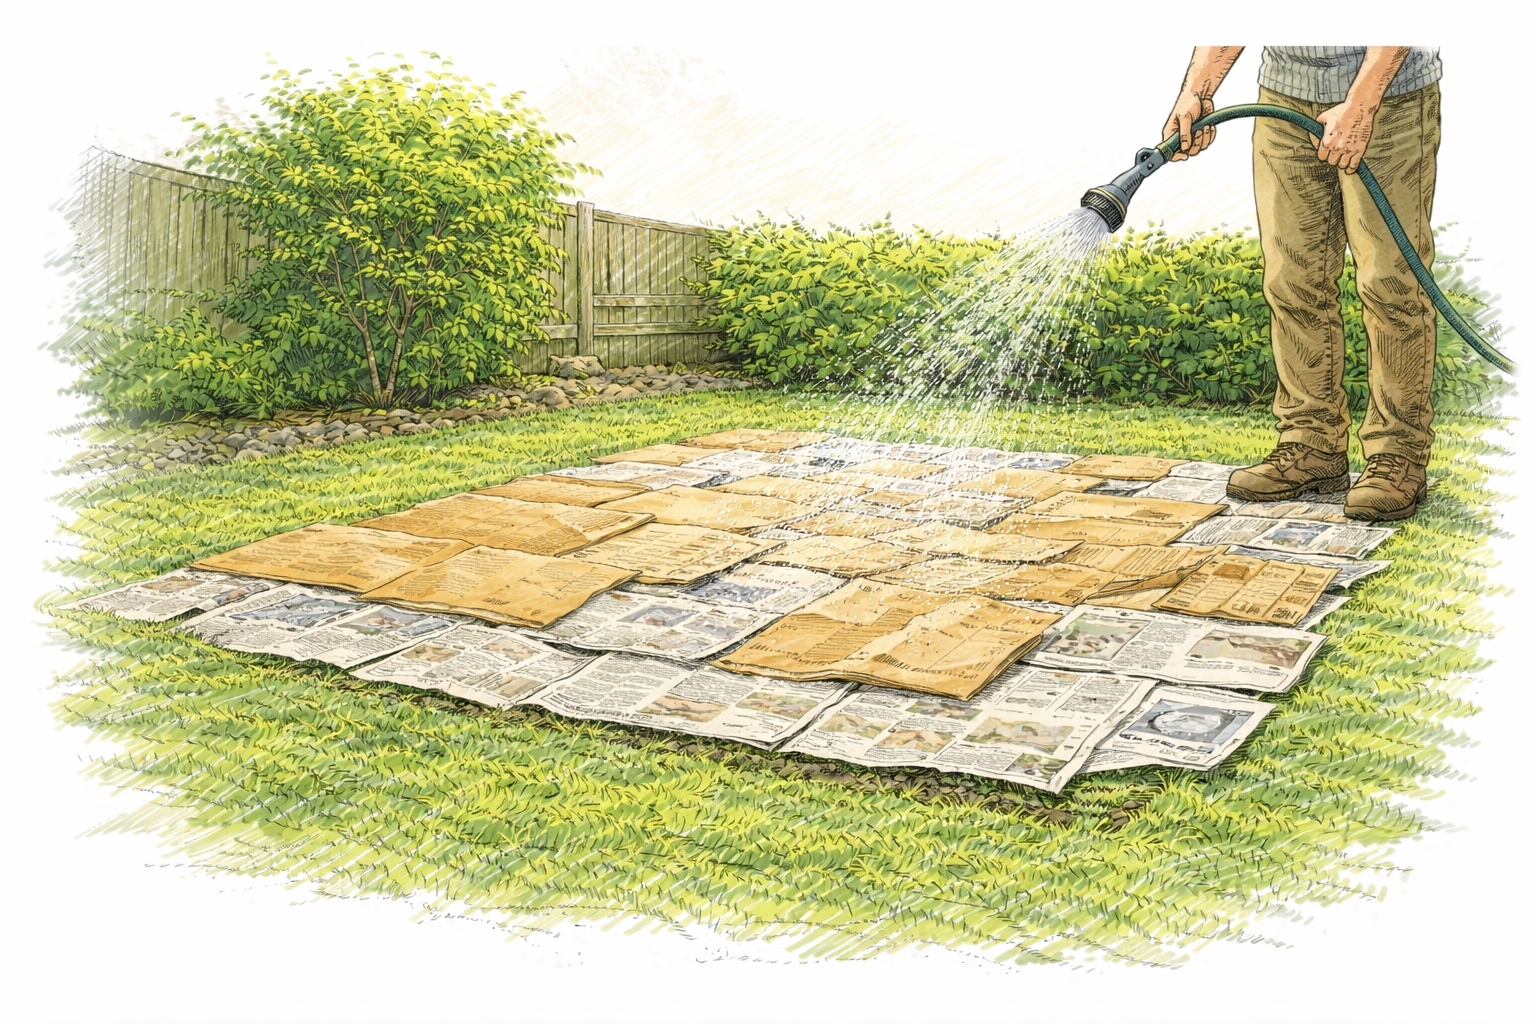
Then cover the area with cardboard or several layers of thick paper. Overlap the edges so there are no gaps, and soak it well. This is what stops the grass from coming back.
Spread a thin layer of compost over the top. It doesn’t need to be deep, just enough to hold moisture and introduce life into the system.
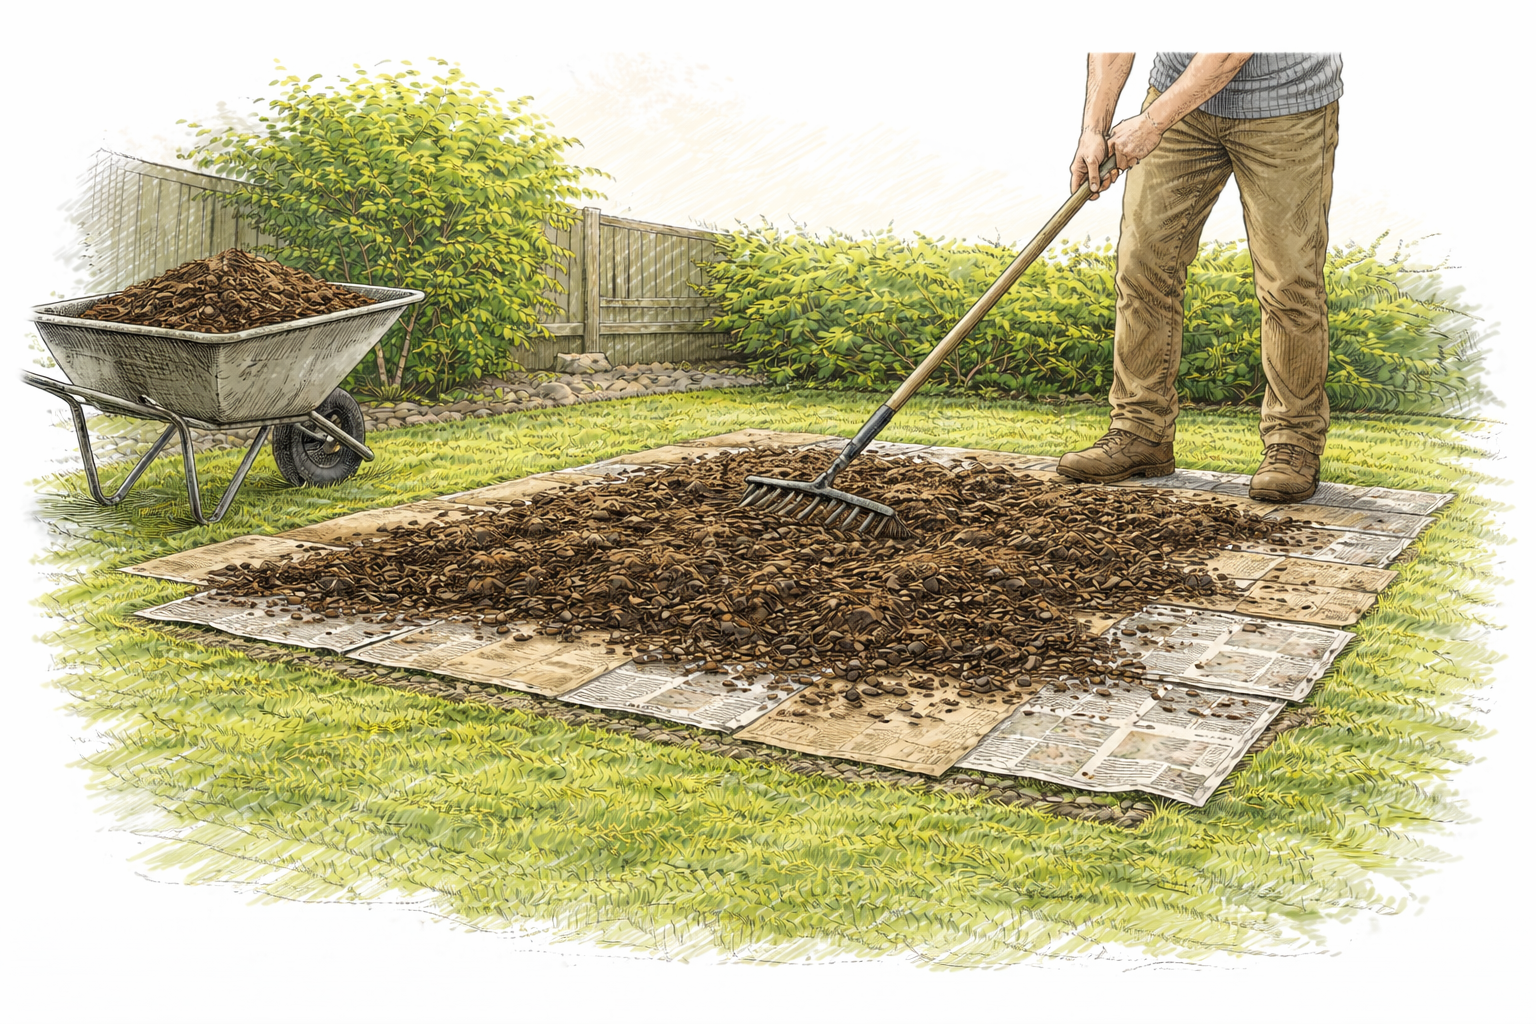
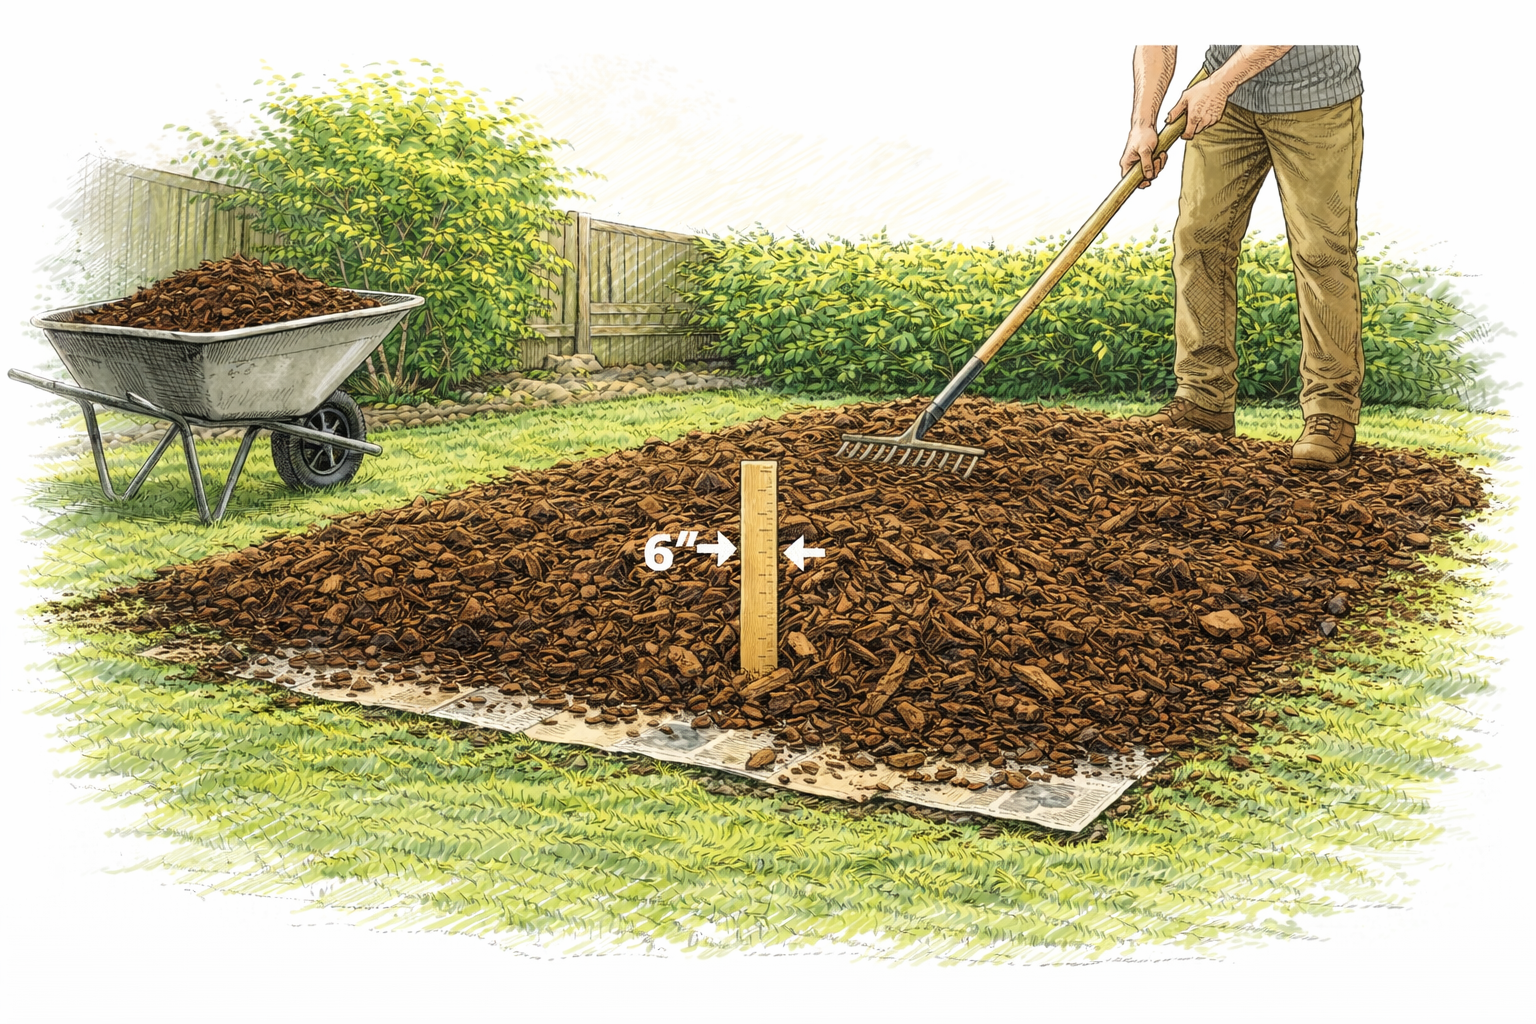
After that, cover everything with a thick layer of mulch. This is the part that matters most. Wood chips, straw, leaves, whatever you have, as long as it’s deep. Thicker than you think you need, at least 6 inches.
One of the biggest mistakes people make is thinking they need to buy mulch. You don’t.
There’s an enormous amount of wood chips being produced constantly, and most of the time people are actively trying to get rid of them. If you know where to look, you can usually get more than you need without spending anything.
Call your local power company. They’re regularly cutting trees away from lines and need places to dump chips. Call a local arborist. Tree crews are almost always looking for somewhere nearby to unload after a job. Or use a service like ChipDrop. You can sign up, set your location, and request a load, and if a crew is working in your area, they’ll just come and dump it for free.
It won’t be pretty. It won’t be uniform. But it will be exactly what your soil needs.
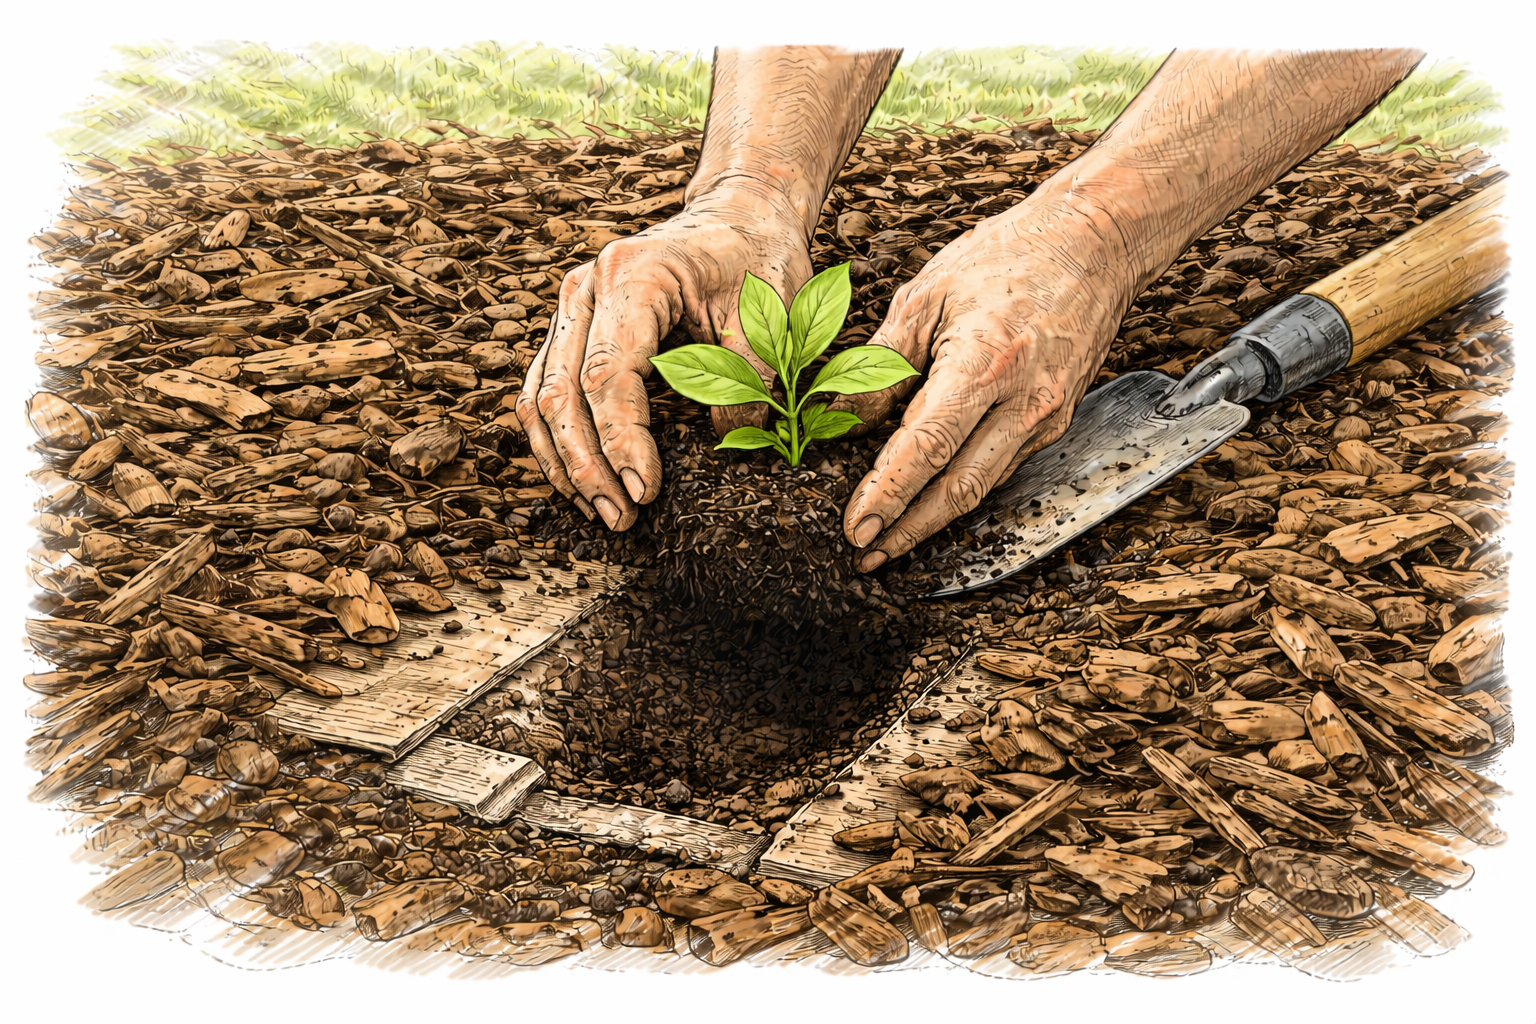
When you’re ready to plant, pull the mulch back, cut through the cardboard, and plant directly into the soil underneath. Then move the mulch back around the base of the plant.
That’s it.
Don’t Plant Into Empty Space
This is where most people make gardening harder than it needs to be.
A garden shouldn’t start as clean rows of vegetables in bare soil. That approach always guarantees more work. Instead, treat diversity as the default.
Sow native plants into the space early, even before your vegetables go in. These plants fill gaps, attract beneficial insects, and make it harder for pests to take hold in the first place. The native part matters more than most people realize.
Then plant your vegetables into that living system.
At first, it can feel like too much is happening. Everything blends together. It’s hard to tell what’s what. That doesn’t last.
You start to recognize the plants. You see how they grow differently, how they interact, and how the space organizes itself over time. What felt messy starts to feel structured.
This is where gardening becomes easier. Not because there’s less going on, but because you can finally see it.
What Happens Next
The grass dies back over a few weeks. The cardboard softens and disappears into the soil, and the mulch settles and begins to break down.
You’ll still see weeds, but far fewer than you would in exposed soil, and they’re easier to deal with when they do show up. In many cases, the plants you’ve established are already filling that space.
What you’re building is a system that improves instead of getting harder to manage.
A Better Way to Start
You don’t need to get everything right.
You just need to start in a way that doesn’t create more problems than it solves.
Pick a small area and do it once, properly. Then watch what happens.
That experience will teach you more than any plan.